Snubnose Carved Holster
- muleequestrian

- May 28, 2025
- 2 min read
I start off with stiff paper and design the holster. I can wrap this around the gun itself to see how it will fit, and I can make changes as needed. Once I’m done with that, I make a clean outline on a new sheet and cut it out with scissors.
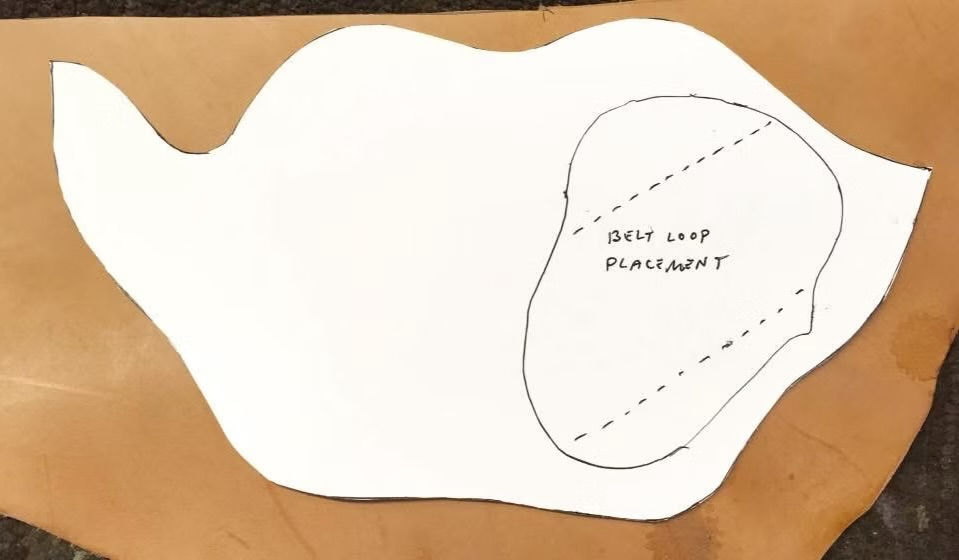
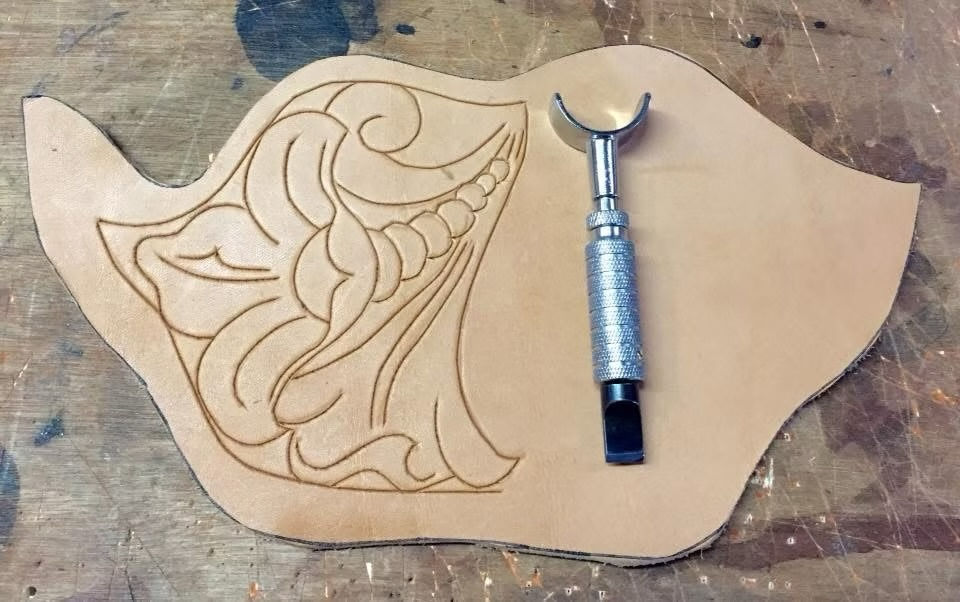
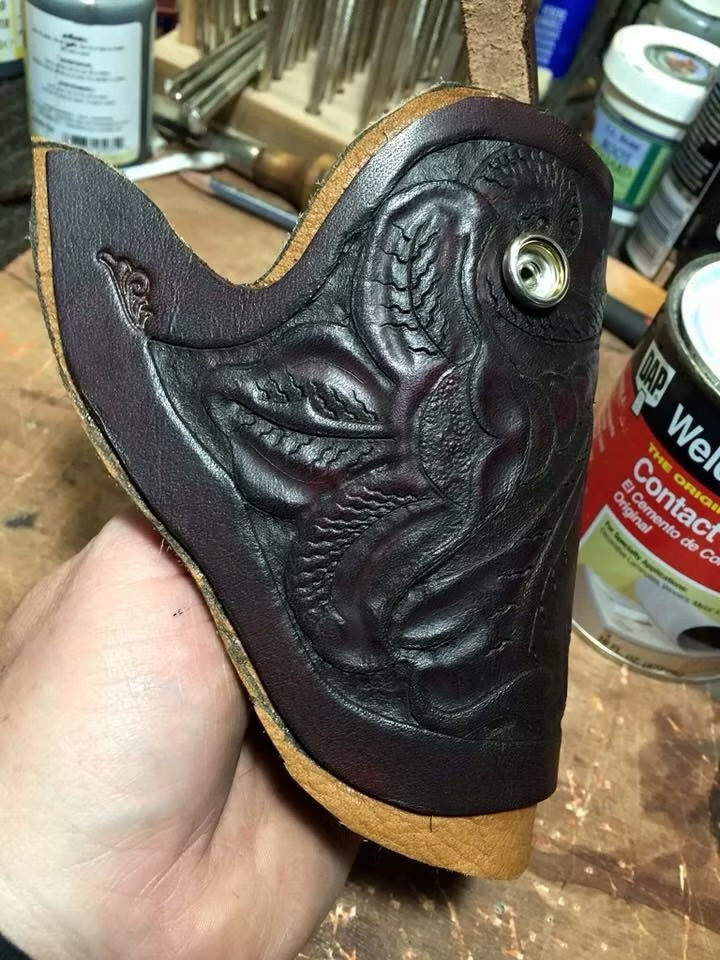
Once I picked out the design I want to carve in the leather, I size it to the leather itself and transfer it. I carve the outlines of the design into the leather with a swivel knife.
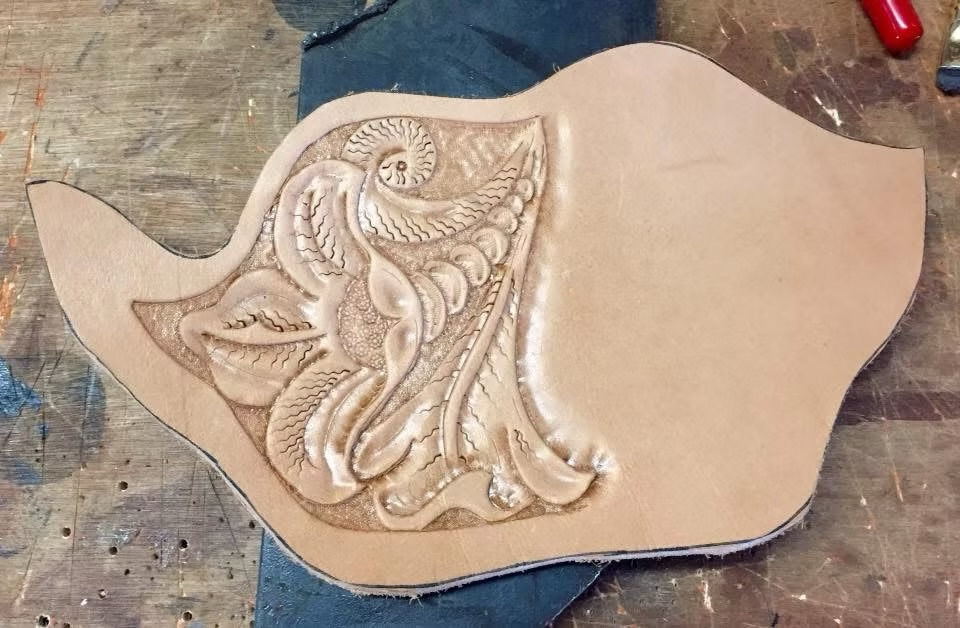
Then I can go back and add the shading with any details.
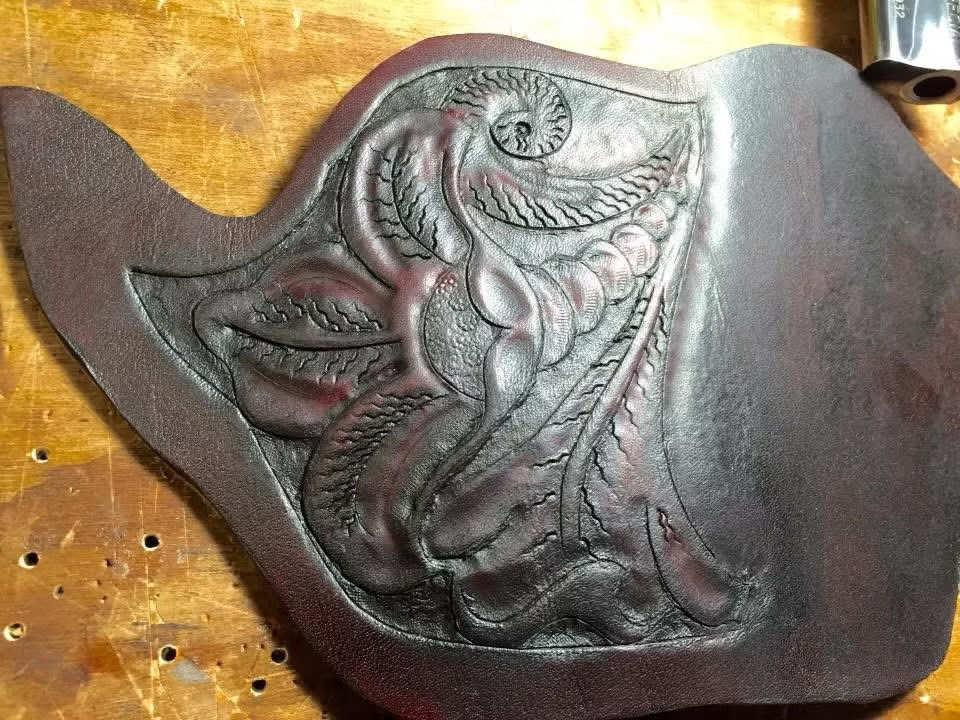
The first coating of leather dye is laid on the leather, allowed to dry, and the excess buffed smooth.
All of the snaps are placed next, and any belt loops are stitched in. This way, they are hidden under the leather liner to prevent them from scratching the gun metal or being exposed to the elements.
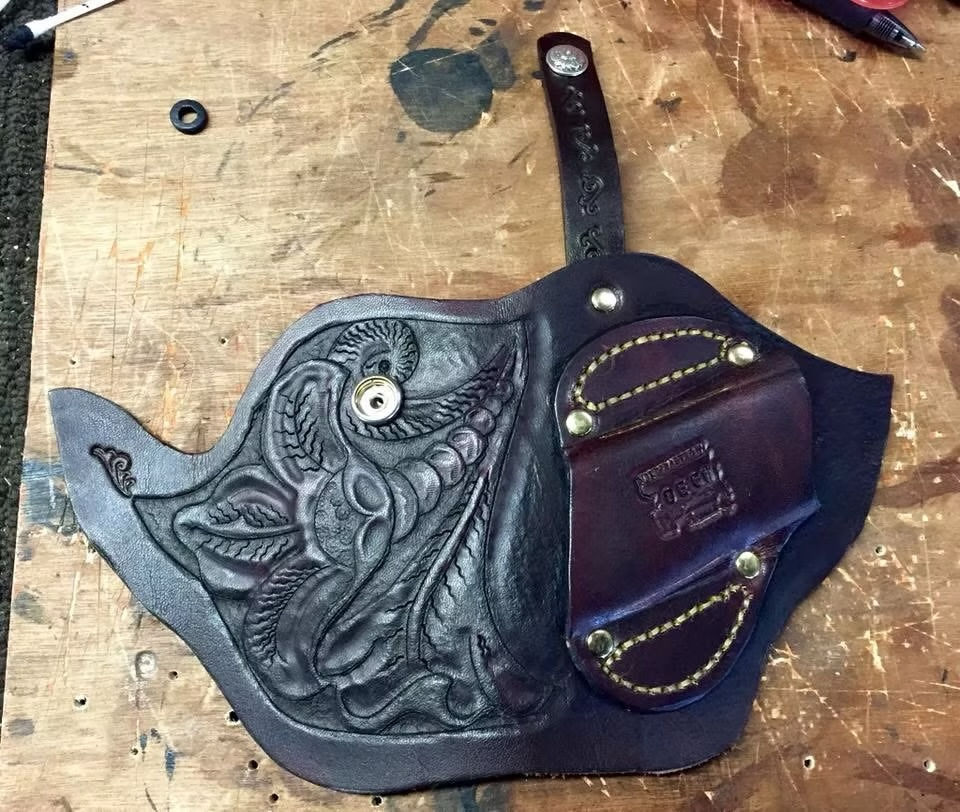
A suede liner is fitted and glued into place.

The liner is trimmed even with the holster, amd prepped for welts.
Once the welts are glued in, the holster is folded over and stitched. So the leather is glued and stitched for extra strength. If needed, a small rivet can be punched into place at the stress points of the holster for even more strength.
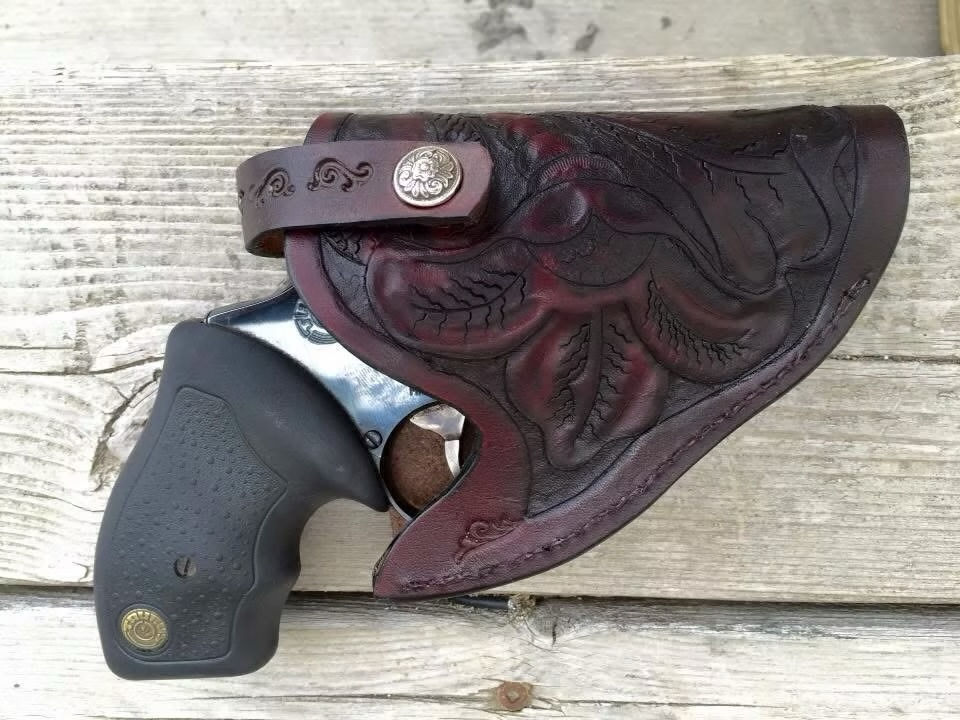
The edges are sanded even and buffed smooth. The last step is edge dressing on the sanded edges and a final coating of leather dye to make the color even.

The holster is dampened and the revolver is oiled and put in. I generally like to let the holster sit overnight with the pistol stuck in it to form it to the gun. The heavy oiling prevents the metal finish of the gun from getting any surface rust on it.


Comments