Baking Bread in a Dutch Oven and Making Fire Pit Paninis.
- muleequestrian

- Jul 26, 2025
- 5 min read
Updated: Sep 13, 2025
I recently made bread dough in a turn of the 20th century bread maker called the Universal Number 4. It’s a hand cranked antique that still works pretty well. Every once in a while I break out my ancient kitchenware and practice using it. Why ? Well maybe I’m nostalgic. Maybe I’m a glutton for punishment. Actually there’s method to my madness, and I do things like this to stay up to speed on providing for myself in case of an unforeseen event.
I’ve already discussed it once before and I’ll touch on the subject again without regurgitating the same story over and over. In the unlikely event that a natural disaster occurs and the power is temporarily out, my electric kitchen appliances become really big decorations. A coronal mass ejection could knock out the power grid for a while, rolling brownouts or outright blackouts, and I did mention that in winter where I live in Maine…. Snow laden tree branches often fall over the power lines.
Since “perctice makes praffic” I’ve found that once you acquire some skills, they’re ‘perishable’…. Meaning if you don’t practice, these skill sets can become rusty and you lose them to an extent. Muscle memory and practice keeps them fresh in your mind.

In order to bake bread in a fire pit, I use a large cast iron Dutch oven. It’s big enough that my loaf pan just fits, and the edges catch on the walls of the oven and suspend it just off the bottom of the pot. This is fairly important because if you rest the pan on the bottom of the pot…. Heat transfer can burn the bottom of the loaf.
Also important is the clearance I have in the pot between it and the pan. I can pour a little water into the pot and once the lid is in place, steam forms. This steam not only helps keep the bread from burning on the bottom of the loaf, but it keeps the bread moist while baking. That means the crust doesn’t come out hard as a rock and potentially break teeth.

The thing to remember when baking in a cast iron Dutch oven is heat distribution. You put just a few coals down first then set the Dutch oven down over them. An oven meant to be baked in has three small legs on the outside bottom of the pot to keep it off direct hot coals. The lids are flat and have a lip on them to hold coals in place on the top of the pot. So however many coals you lay for the bottom, you need two to three times that many on top.
The thing to remember when baking in a cast iron Dutch oven is heat distribution.

Here’s another caveat. There’s not much in the way of calculating the temperature in a Dutch oven. No gauges or thermometers. You can “cheat” if you want to and buy one of those laser pointers that read the temperature. Or you can do like me and some other old timers and just hold your hand close and “guesstimate” the temperature. Once upon a time when I did this regularly, I was pretty good at this. Now ? I’m rusty because I haven’t been staying in practice.
So one of two things happened here. Either I let the lid get too hot because my coals were still actively burning instead of smoldering — OR — the dough rose kind of high during the bake and touched the underside of the lid. Knowing me — it may have been a bit of both. Today was a scorcher with the weather, and I was standing over a fire pit in the direct Sunlight. So I was sweating like a plow mule wondering what insanity possessed me to pick today of all days to do this. Might be that I was in a hurry and didn’t want to wait for my coals to burn completely down before I started baking.

Because I didn’t take precautions, I ended up with a slight occlusion in the bread in the form of an air bubble. Well not to worry. That’s the great thing about cooking. Unless you completely screw up you can still eat the evidence of your mistake. It’s not a big deal to scrape some of the carbon off the top of the loaf to get to the more edible stuff underneath.

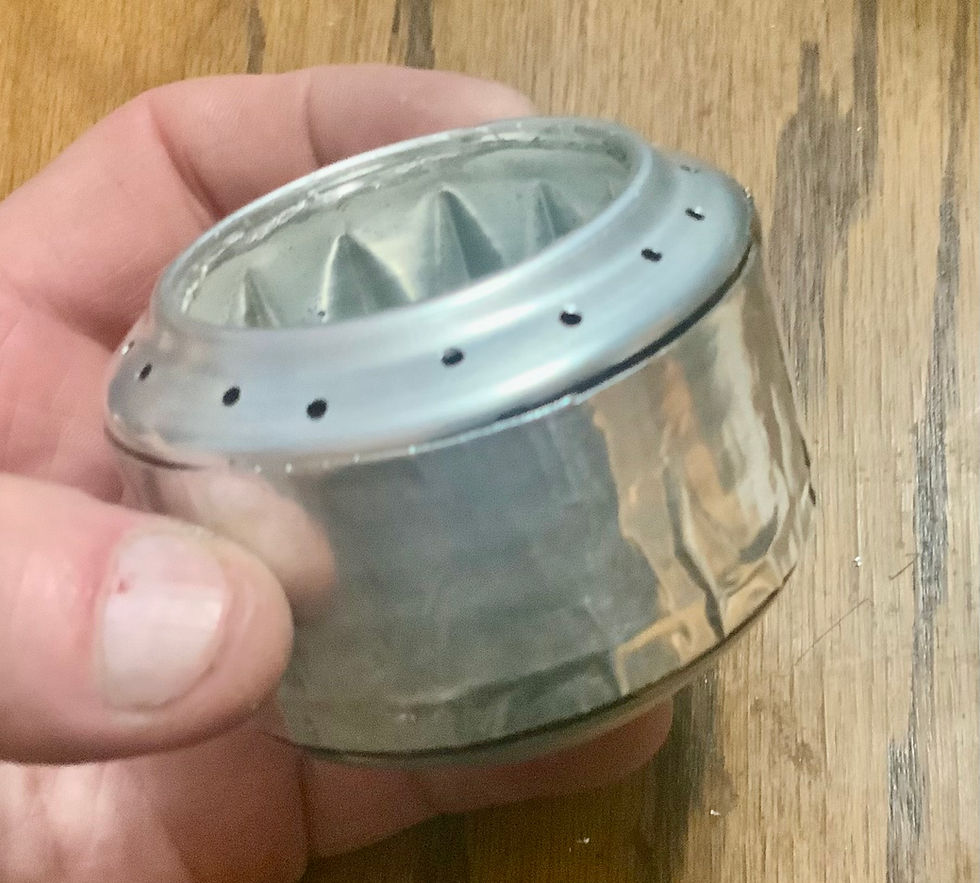
Now we come to the finale. What to do with this fresh loaf of activated charcoal ? Grill something made with it of course ! So I got out my fire pit panini pan and started stacking chow on it. Layer of provolone cheese. A few slices of salami. A couple of strips of buffalo sliced off a steak. Yep… I like my American Assault Cow meat. As big of a brutalski as these murder cows are, they are surprisingly tender to the teeth. So yep — bison chunks to those of you who are fastidious about the proper nomenclature of critters. I still call them buffalo.
More slices of salami. More provolone cheese. Two big dollops of diced tomatoes and onion salsa. More provolone. Topped off with another massive slice of home made bread with some of the carbon scraped off. Some butter to keep it from sticking badly to the panini pan.

I close this up and latch it, then drop it on the hot coals. For how long ? At least enough time to gulp down half a can of Guinness I suppose. Flip it over and finish off the can of Guinness. I’m not a rocket scientist…. I don’t know how long to leave it on the fire.

I suppose when you think there’s enough carbon build up, you should probably take it off the fire. I wonder — if I had a fish aquarium — is this similar to the activated charcoal in the filtration system ? In a pinch, do you suppose I could pack the filter cannister with my grill scrapings ? I think maybe not. I’m not sure what to do with a fish that had high cholesterol and hardening of the arteries. Maybe the melted butter would congeal and clog up the fish’s gills ? I imagine it would be difficult to breath butter — but then again I myself can’t imagine breathing regular water either.

At any rate…. This is how the fire pit panini turned out. Slightly carboned, but still very edible to me. I reckon this concludes the cooking — for now. Enjoy your buttered carbon bread.


Comments