Making a Homemade Pack Basket
- muleequestrian

- Nov 9, 2025
- 3 min read
Updated: Mar 3
I already have a store bought pack basket, but I don’t like it a lot. It’s stiff and doesn’t conform to my back very well. I always wanted to learn how to make a pack basket and I thought I’d give a whirl. It’s never too late to learn a new skill no matter how old you are. Wood Thrush Wilderness LLC, puts on these classes and included in the fee is the cost of materials. The instructor is patient even with crusty old outdoorsmen, and everything is explained in easy to understand terms.

It’s never too late to learn a new skill no matter how old you are.
This pile of stuff is about to become my next back pack. Now this is not really underwater basket weaving since I don’t have a SCUBA tank, and it’s deep into the Fall of year. Air temps are about 28° F right now…. So NO underwater basket weaving.
For those of you who know — the term “Underwater Basket Weaving” is an inside joke within the Marines, and some parts of the Navy. If you know, you know.

The weaving materials are soaked in a tub of water for about 5 minutes to make them pliable enough to weave without breaking. See ? It’s CLOSE to underwater basket weaving…. There IS water involved, and we’re making a basket !

The grid is laid out for the uprights, also called “spokes”. Six spokes by nine spokes and the floor board gets screwed into place along with the feet.

Basically you weave in and out, one over then under each of the upright spokes. Believe me it’s not quite as easy as it seems. With the strips of the spokes flopping all over the place, it’s kind of like herding cats, or wrestling spaghetti. But after my first few runs, I decided the old pack might need a little color in it.

After a few more layers of plain reeds, I decided to add a bit more color. This is the point where I wove the reeds loose in the form to add a bit of “belly”, and tighter along the sides and back.

Another splash of color is added in the form of green laces of dyed reed stitched up along the front. Here you see I’ve added a carry handle, the pack straps, and I’m stitching on the oak inner and outer rims with a half oval / half flat strips for reinforcement. A small twist of rope is added between the inner and outer rims to fill in a small gap.
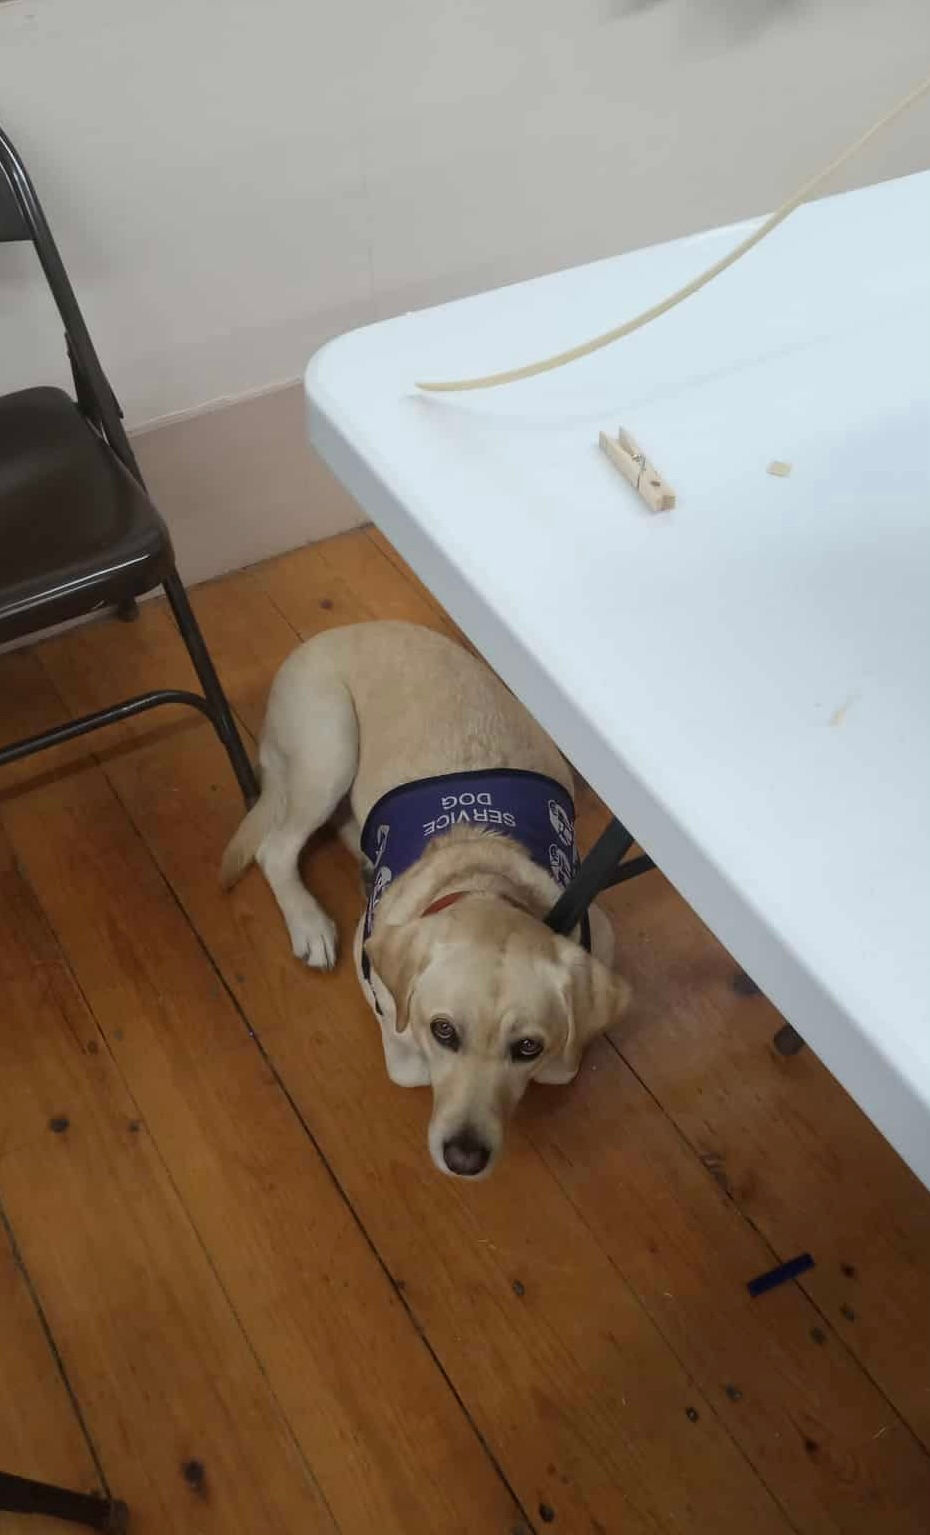
Of course, my best buddy Ryland was in attendance as well. She was pretty good for the most part, but she did break loose once everyone decided to pet her. I had a difficult time getting her back under the table again because she wanted to be the center of attention.

Here’s the finished pack basket once I got it home. I made sure to dish in the back of the pack in order to fit closely on my back when carrying my gear in the backwoods in it.

Now once I set this by the fireplace to dry out (remember I had to weave it wet and soaked in water), the next thing I do is to seal it with boiled linseed oil, mineral spirits, and golden oak stain. This will keep the wood protected and not allow it to mildew during use. The colors will become more subtle and not be as vibrant but they will still show through.
I have a waterproof bag liner that goes inside the pack basket to keep everything weatherproof inside so it should be good to go during rain and snowstorms. I can’t wait to break it in for winter camping soon.
Classes were courtesy Wood Thrush Wilderness Maine. Check them out Here.

The fit to my back is perfect. Like a glove. I should have no trouble getting my gear out into the backwoods with this.

Here is the new pack basket attached to the 1860’s pack frame that I made out of red oak.
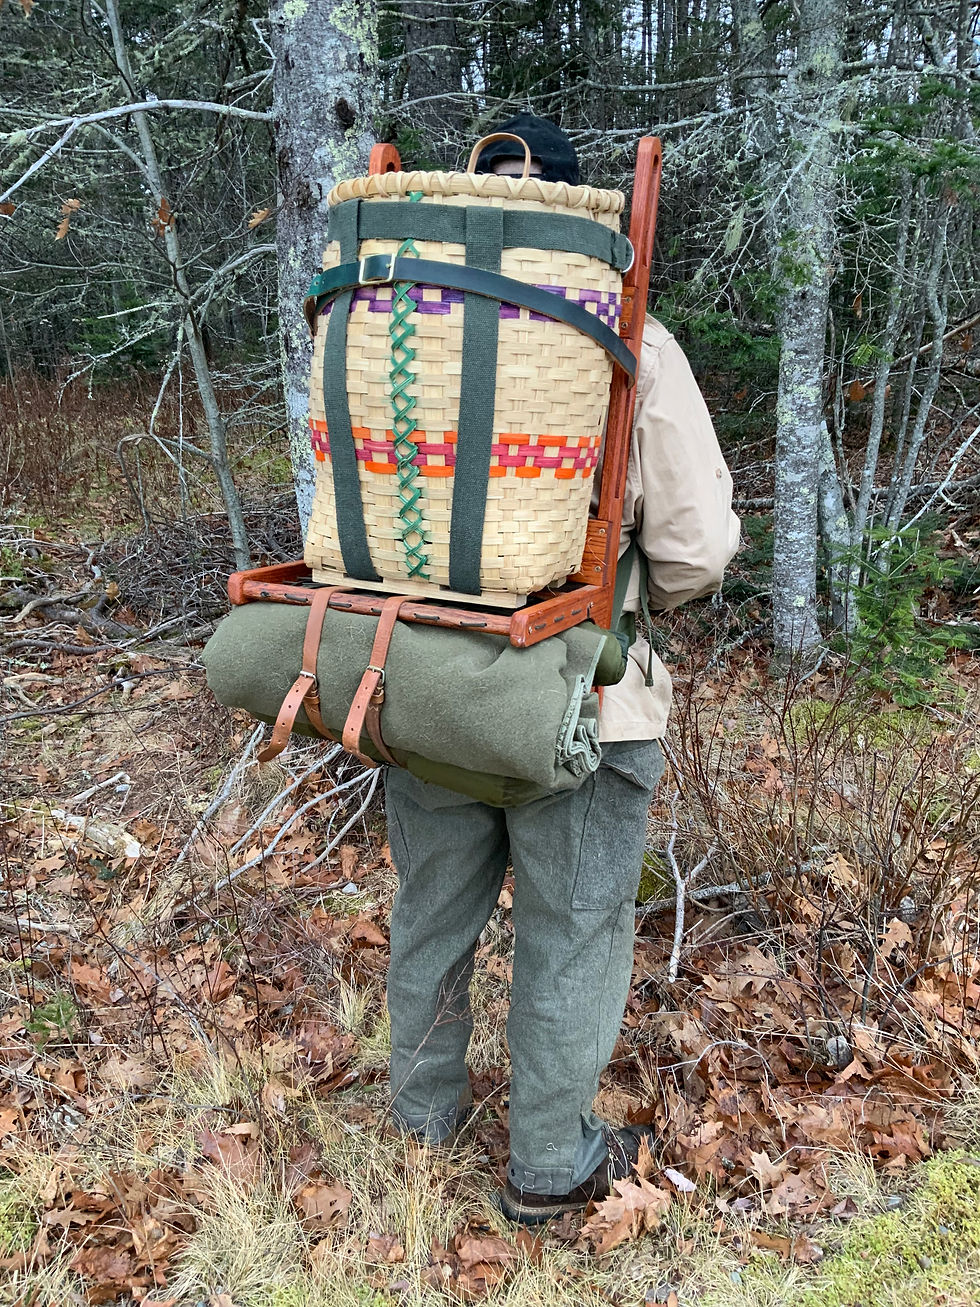
A rear view of the new packing rig. The general rule of thumb is to carry less than 25% of your body weight. The rig seems to be large and heavy, but it’s not. It’s bulky looking is all.


Comments